
To be able to use the Snowboard Bindings effectively, you must know how to mount it, and be able to adjust it to a stance that works for you and your Riding Style. What follows are steps on How to Put on a Strap and Step-in Bindings and How to Adjust Snowboard Bindings.
How to Put on a Strap Binding
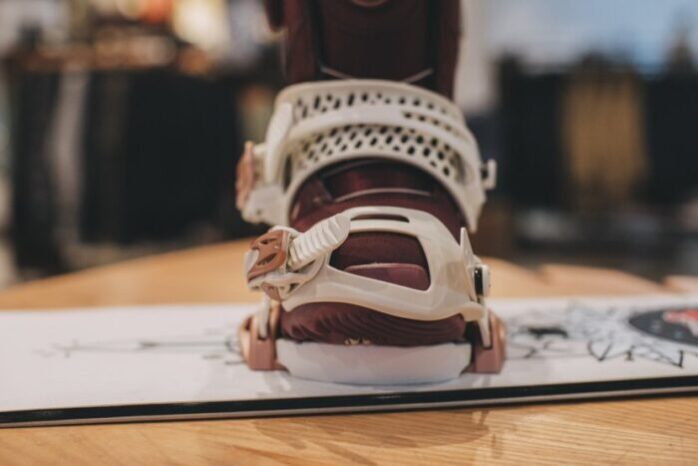
- Put your front foot in the front binding. Ensure that your heel is placed securely against the highback.
- Secure the ankle strap first, then the toe strap. Tighten them as snug as possible but not to the point of pain.
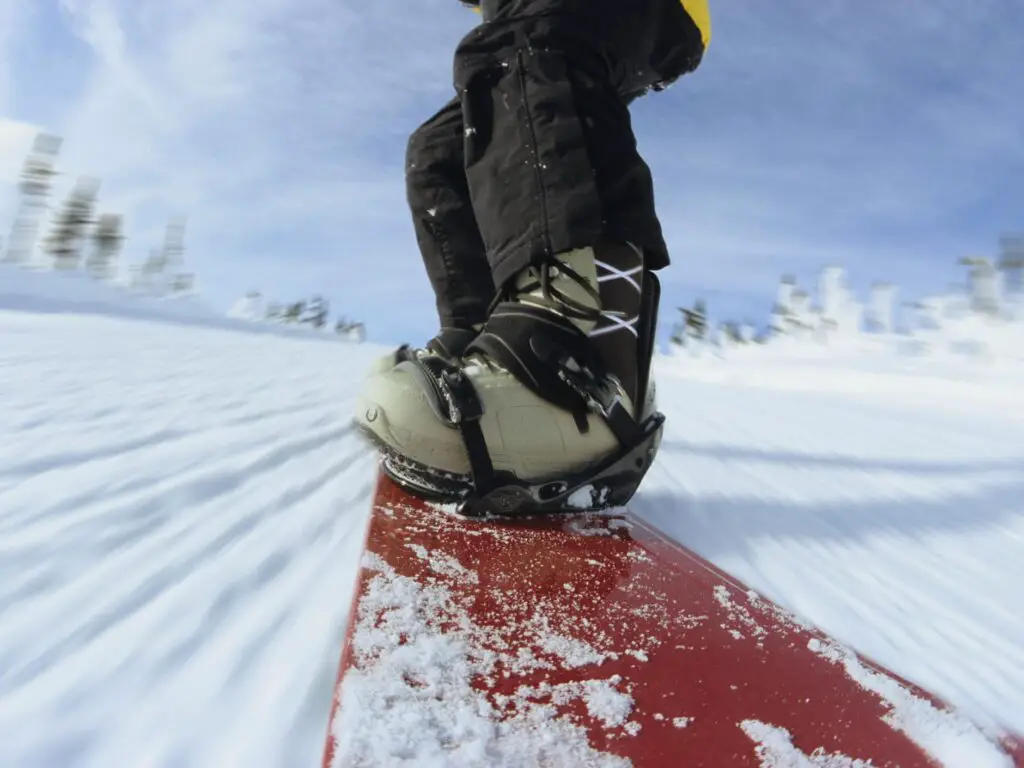
- Put your back foot in the back binding and then tighten the ankle and toe straps firmly.
How to Put on a Step-in Binding
- For a clicker step-in binding, put in your toe first.
- Press your heel down to lock the boot and binding in place.
- Attach the Snowboard Safety Leash on your front binding around your ankle or to your front boot.
How to Adjust Snowboard Bindings
With everyday use, the screws, nuts and bolts that hold the highest stress areas together tend to loosen up. Consequently, they need to be tightened regularly to ensure that a strap doesn’t fall off and get lost.
However, not every Mountain Resort provides tool stations, so it’s important to have a Snowboard Tool within reach (preferably in your pocket) at all times. Remember, a snowboard tool is a small investment that will definitely pay off over years of riding. Also, with the standardized insert pattern of snowboards, and with the built-in adjustment capacity in most Bindings, Mounting and Adjusting Bindings has become simple quite a simple task.
To be able to do this, make sure you have a screwdriver and a wrench or two. Also, it would be a plus if you have some basic knowledge about the stance width, stance location and stance angle.
The distance between your front and rear foot is the Stance Width. The basic stance width is roughly the length of your shoulder-width apart (about 30 per cent of your height). The location of the center point between your Bindings relative to the center of the snowboard is the Stance Location. Conversely, the angle of the Bindings across the snowboard’s longitudinal axis, wherein zero degrees represents a line that is perpendicular to the snowboard’s length, is the Stance Angle.
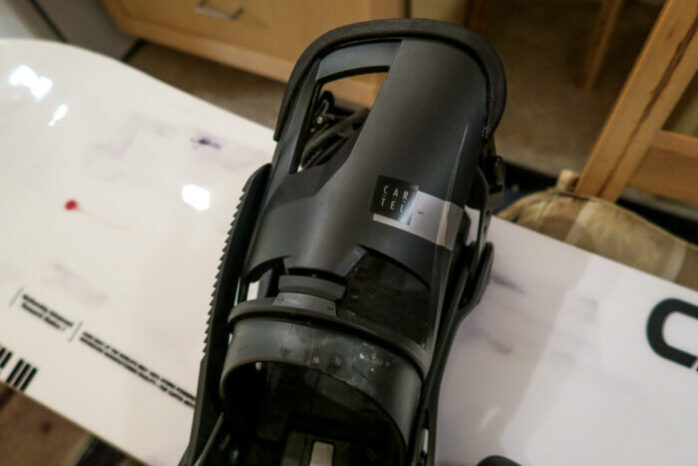
Forward Lean
For starters, check your board’s Forward Lean. The forward lean is the amount of forward angle on the highback support. For more leverage and more responsive heelside turning, add more forward lean. By adding forward lean, you also force your knees to bend, consequently ensuring a good riding stance. Still, too much forward lean makes your knee bend too much. Over bending your knees put pressure on your quadriceps muscles and reduces your ability to turn easily. So don’t overdo it.
You can usually adjust the forward lean in soft-boot Bindings by changing the position of a plastic stay behind the highback.
Rotating the Highbacks
You can easily rotate your Bindings’ Highbacks if your bindings have slots on the hinges where the highbacks are fastened to the binding’s baseplate. To make your heelside turning more responsive than when it is angled along with the baseplate, adjust your Bindings in parallel with the Snowboard’s Heel Side Edge. You can do this by loosening the bolts and rotating the highbacks.
Adjusting Strap Position
Generally, this involves unscrewing the straps from the baseplate and moving them forward or backward on the Bindings. To improve control, move the straps higher up on the foot. Conversely, move them down lower to increase flexibility.
Make sure that the toe strap is resting around the base of your toes and is securely holding down the tip of the boot. Shorten your straps if you find yourself pulling on them for a snug fit. You can do this by fastening the straps to the baseplate further along the length of the strap. Most straps already have extra holes for this adjustment.


