Welcome to our Snowboarding Online Course, your all-out tutorial for basic skills, techniques, and maneuvers in Snowboarding.
Know how to snowboard and learn the proper moves right from the very beginning so you will have a good foundation before venturing into the intermediate and advanced skills.
Table could not be displayed.Pictures are also provided as we want you to see a particular move before you actually try it out. We hope that you will learn a Snowboarding Tip or two in these sections.
Interested in adding a creative flair to your snowboarding adventures? Alongside perfecting your skills on the slopes, why not explore the world of animation to share your snowboarding journey in a unique way?
Go here to explore how to make your own animation and bring an extra dimension to your snowboarding experiences!
Starting Out
Snowboard Basics
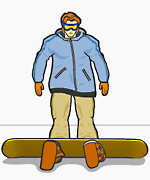
STEP 1: Find a flat area or gentle incline. Keep away from high-traffic areas. Rest your Snowboard on the snow, with the bindings facing down. This is to secure your board in place and keep it from getting away from you.
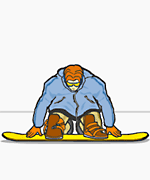
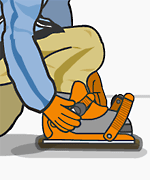
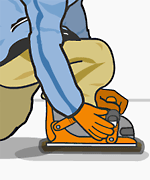
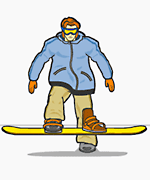
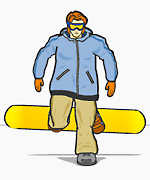
Gearing up on the slope and getting accustomed to your board are some of the fundamentals in learning how to ride.
Getting comfortable with your board and your set of equipment, in general, can help you in performing various Snowboarding skills, techniques and maneuvers.
Strapping in, standing up and acclimatizing yourself to the board are some of the first few things you need to know as a beginner. In this section, get some valuable Snowboarding Tips on how to gear up on the slope.
Carrying your Snowboard
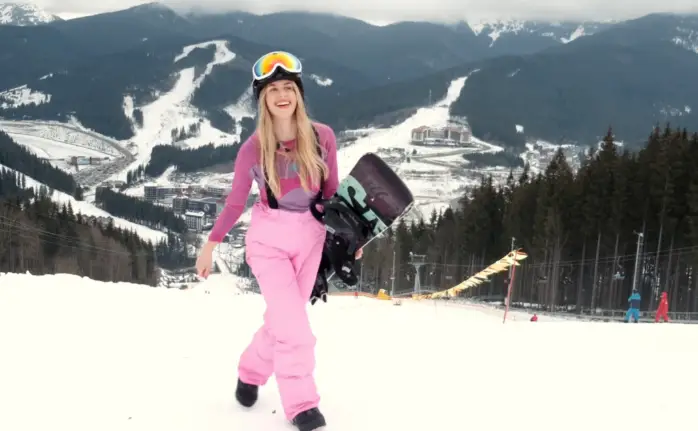
When you are walking on the slope, watch out for other people or objects that you might hit with your Snowboard. In this section, learn several ways to carry your board.
There are several ways to carry your Snowboard while on the slopes. One important thing to remember is to watch out for other people or objects you might hit with your board when you are walking.
Another one is to avoid dropping your board on the slope, unless you want to go on a Snowboard chase. In this section, learn several ways to carry your Snowboard:
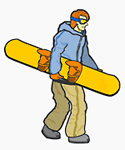
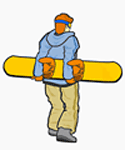
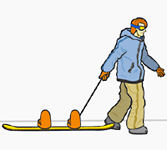
If you have to leave your board alone, one option to keep it safe is to use a lock. Some resorts provide snowboard locks for specific kinds but it would be more advisable if you have your own. You can also share locks with your friends. If you decide to leave your board at the base, make sure that it can be easily seen from where you are.
We have listed some of the ways to carry your Snowboard. In general, it is a matter of preference. No matter how you do it, just make sure that you will not hit anyone or it will not slide down the slope.
Skating
Learn Skating so you can move through flat areas or terrains and get on and off the chairlift with ease.
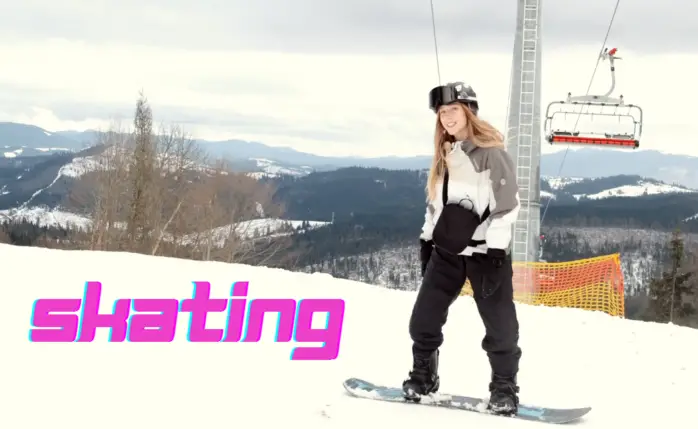
Mastery of skating from one place to another is a useful skill in Snowboarding. You will have to skate when you are making mid-mountain transfers from lift to lift, crossing the flats from the base lodge over to a lift, or when trying to get moving again if you get caught on a ‘cat track’.
Practicing this useful technique will also help you get the feel of gliding the board forward on the flat before you attempt the same motion on a gradual slope.
Here are some tips on how to skate
Attach your front foot to the Snowboard Bindings, and leave your back foot free.
Make a skating motion by placing your front foot in front of you while using your back foot to move forward. Skating/Sliding on your Snowboard with one foot attached is something you need to learn and would do often in Snowboarding. Every time you need to enter or exit a lift or travel short distances on a level or uphill slope, you will need to skate.
Try skating around but make sure that your back foot should never be ahead of your front foot. Make sure to only make small steps with your back foot.
As you improve, you will learn how to take bigger steps and really kick with your back foot.
Also, make sure to keep your front leg slightly bent with most of your weight on your front foot. It will help keep your balance.
As your skills improve, you will be able to make some speed. You will also be able to place your back foot on your Snowboard Stomp Pad or press it against the back of your Snowboard Binding if you don’t have a stomp pad.
hen, try to keep both feet on the board as much as possible. Try to crouch and get up while sliding on the board.
You might not be comfortable with skating at first. Try practicing it and soon enough you will be good at it. Skating demands more balance and attention to the terrain so keep on practicing and you will soon be able to skate with ease.
Switching Edges
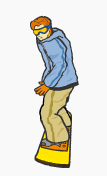
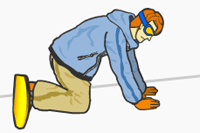
This Snowboard Exercise will teach you how to switch edges with both feet strapped in. Just use our animation as your guide as you move from one edge to the other.
If you find yourself on the wrong edge, you need to unfasten your Snowboard Bindings, turn around, and attach the bindings to your feet.
However, there is an easier way of switching edges. This is by rolling on your side while your feet are attached to the board. In this section, learn how to switch edges the easy way:
Switching Edges – Toe to Heel
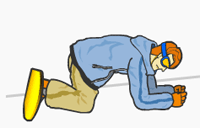
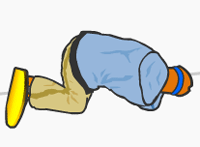
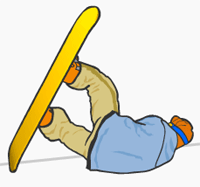
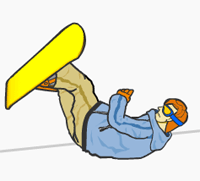
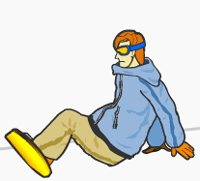
Switching Edges – Heel to Toe
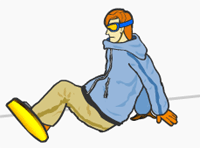
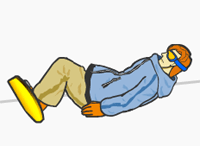
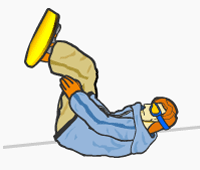
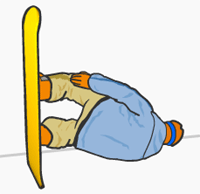
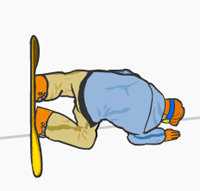
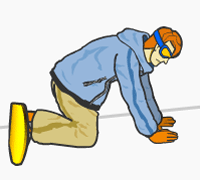
This is the basic way of switching edges when you are on the slope. You will soon be able to change sides easily when you find yourself on the wrong edge. Just make sure to keep away from other snowboarders when you need to do this.
Gliding
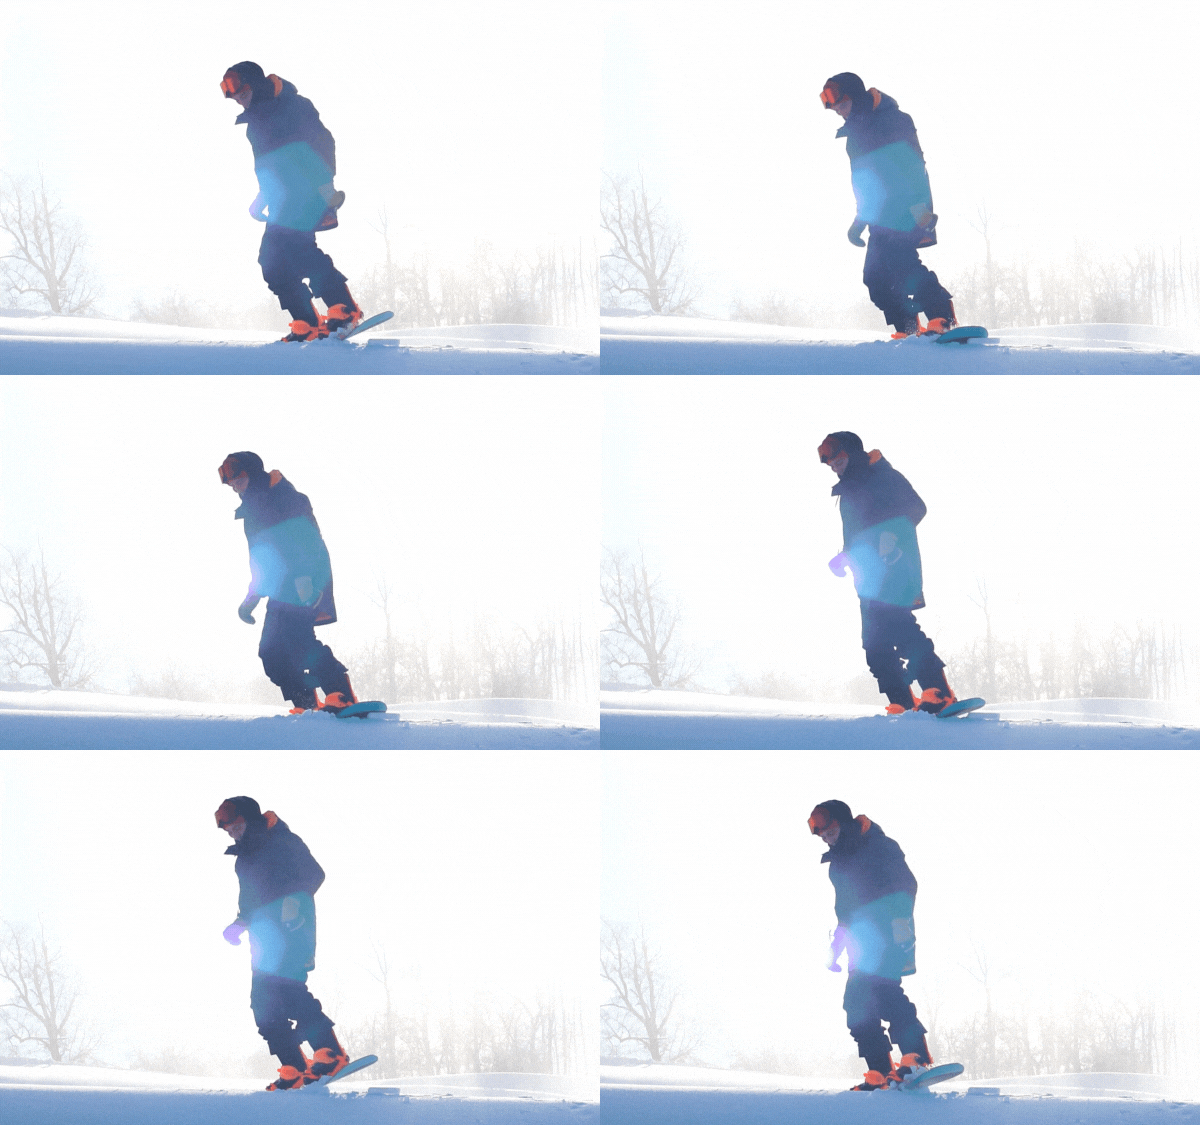
This basic movement will help you to be comfortable in shifting your weight forward and in gaining Snowboard control. Read our easy-to-follow instructions on how to make straight glides.
Gliding is one skill that you should be able to do before you progress to other Snowboard Exercises. This basic movement will help you to be comfortable in shifting your weight forward and in gaining Snowboard control.
This will also be helpful when riding a chairlift. You can be able to unload from a chairlift in control if you are able to turn out of a glide. As soon as you are able to stand tall on a board and glide down from an incline, then you are ready for the chairlift.
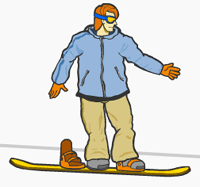
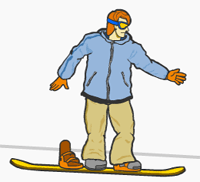
Moving on the slope with only one foot attached to the Snowboard can be pretty exhausting but you will find that it will be very useful in many ways. Practice and be comfortable in doing straight glides before trying other Snowboard Exercises.
Moving Up the Slope
You will have to go up and down the slope repeatedly to learn Snowboarding. In this section, learn how to inch your way up the slope with both feet strapped in.
After trying to skate/slide down the bunny hill, you will now have to learn how to move up the slope. You can do it by inching your way up while both feet are attached to the board. In this section, learn how to move up the slope with both feet strapped in:
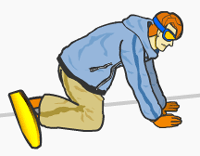
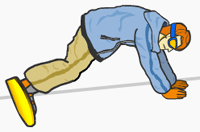
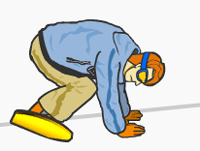
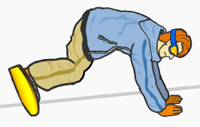
Moving up the slope in this manner is quite tedious so you can only perform it for short distances only or if you can still endure doing the steps repeatedly.
Snowboard Exercises
Sideslipping (Heelside)
Sideslipping is a controlled slide along the Fall line of a slope. This will teach you how to use the heel edge of your Snowboard in controlling your descent.
As mentioned in our Sideslipping (Toeside) section, Sideslipping is sliding along the fall line of the slope. This exercise will teach you how to use your Snowboard’s edges to control your speed in going downhill.
In this section, know what Sideslipping (heelside) is all about and learn how to use the heel edge of your Snowboard in controlling your descent:
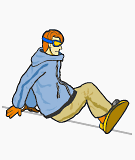
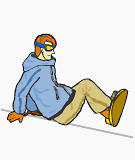
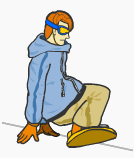
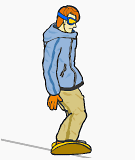
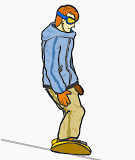
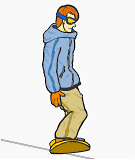
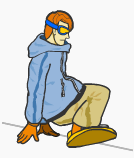
At this point, you already know how to control your Snowboard (heelside and toeside). In general, it does not really matter if you learn Sideslipping on the heel edge or toe edge first since you will learn both as you go on with the Snowboard.
Sideslipping (Toeside)
After learning Sideslipping (heelside), you can try doing its counterpart. Know what Sideslipping (toeside) is all about and learn how to use your board’s toe edge in controlling your descent.
Sideslipping is simply sliding along the fall line of the slope. This skill will teach you how to control your Snowboard and make use of your edges when descending.
There are many advantages of learning this skill. First, it will teach you the importance of edge awareness. Sideslipping is one skill that you should learn before you can do traverses. Eventually, you will also be able to perform basic turns.
When you decrease the angle of your board’s uphill edge, it will initiate a sliding movement. On the other hand, if you increase the edge angle, the board will slow down and stop.
In this section, know what Sideslipping (toeside) is all about and learn how to use your toe edge in controlling your descent:
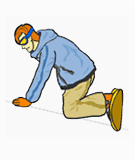
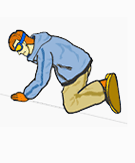
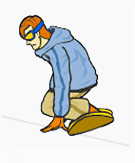
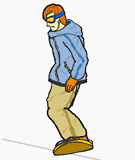
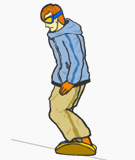
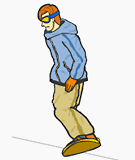
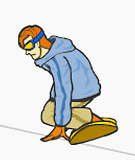
Edge awareness is one of the most important things you need to learn in Snowboarding. Practice Sideslipping and take full advantage of your toe edge.
Be comfortable in doing this skill so you can move on to the other Snowboard Exercises. Check out our next section and learn Sideslipping on your heel edge.
Traversing (Heelside)
Traversing will teach you how to control your speed and improve your balance while on the slope. You can start doing Heelside Traverses. This section will show you how.
Traversing allows you to move across the fall line while descending gradually. It is actually riding diagonally across the slope, taking you slowly from one side of the slope to the other. You can do traverses in two ways, depending on the position you make and the board edge that you use. One of them is Traversing – Heelside. You will make use of your downhill edge in order to control your speed.
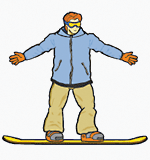
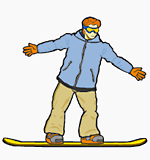
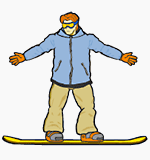
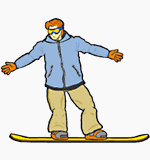
Practice traversing using your heel edge so you will be able to control your speed and direction and improve your balance. Make sure that you are already comfortable in doing Traverses (heelside and toeside) before trying other Snowboard Exercises.
Traversing (Toeside)
Traversing is a maneuver that takes you from one side of the slope to the other while descending gradually. In this section, learn how to traverse using the toe edge of your board.
If Sideslipping is the act of sliding down the fall line using the heel or toe edge to control your descent, Traversing is a skill that takes you from one side of the slope to the other while descending gradually. You can use the toeside or heelside in traverses. In this section, learn how to traverse using the toe edge of your Snowboard:
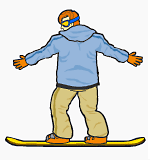
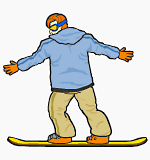
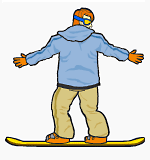
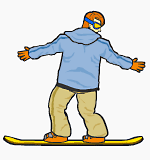
Mastering this skill can help you control your speed and direction. Continue practicing until you feel comfortable traversing. Soon, you can control both edges and you can make a controlled stop when necessary. Make sure that you are already comfortable in doing Traverses (heelside and toeside) before trying other Snowboard Exercises.
Falling Leaf
As the name suggests, the Falling Leaf is similar to the movement of a leaf that falls from a tree. The difference is that this Snowboard Exercise involves a change in direction.
Another movement that you should learn is the Falling Leaf. This is a Snowboarding Exercise wherein the rider skids back and forth on the same edge in an imaginary corridor, almost like a leaf when it falls from a tree.
The difference is that, unlike the leaf, the rider can control the path that he wants to go to. The trace that the rider will leave on the snow will be a zigzag pattern.
The Falling Leaf is almost similar to Traversing, except that the former incorporates a direction change. This is another good move to help you get down on tricky or steep slopes.
When you are able to do the Falling Leaf, you will be able to travel in any direction no matter where your Snowboard is facing. Likewise, it will also help you hone your edge control skills.
The Falling Leaf also adds directional control to your sideslip. Just remember that whichever end of the board has the most weight upon, it goes down the hill first.
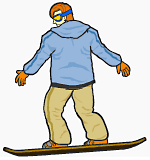
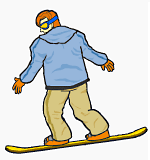
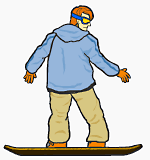
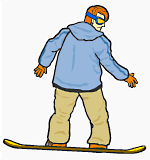
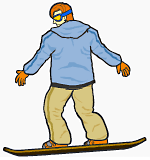
If you want to do the Falling Leaf using your heel edge, just repeat the exercise, but use your Snowboard’s heel edge. Just keep practicing this skill because it will be very helpful for you to travel down terrains.
Garlands
Garlands are called as such because the traces that you will leave on the snow are similar to garlands that you see in Christmas trees. Read on and learn how to do this exercise.
After learning how to perform the Falling Leaf, you are now ready to try doing Garlands. These are actually partial or half-turns in which changing edges is not necessary.
They are called as such because the tracks that you will leave on the snow are similar to garlands that you see in Christmas trees.
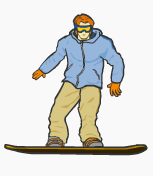
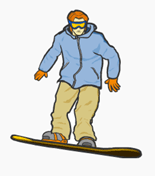
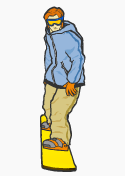
STEP 4: After gaining the desired speed, slow down by increasing the edge angle of the board and shifting your weight backward. Get ready to turn sideways to decrease your speed.
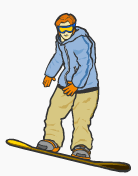
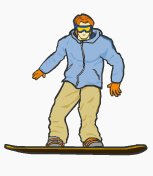
To sum it up, these are the important things to keep in mind in doing Garlands: look towards the direction where you want to go, decrease the edge angle of your Snowboard and point the tip down the Fall Line, and turn uphill to slow down or stop. Once you get comfortable in doing Garlands, you will find that doing full turns will be a lot easier.
Linking Turns
Linking Turns is the final step in our beginner course where you combine all you have learned. At this point, you should be comfortable with traversing and performing Garlands.
You also need to get used to rising to a straight position and going down to a bent position while traversing. You can do this by practicing how to rise and fall on a flat surface, and then use the same motion while traversing on both edges and maintaining your speed.
What are you going to learn?
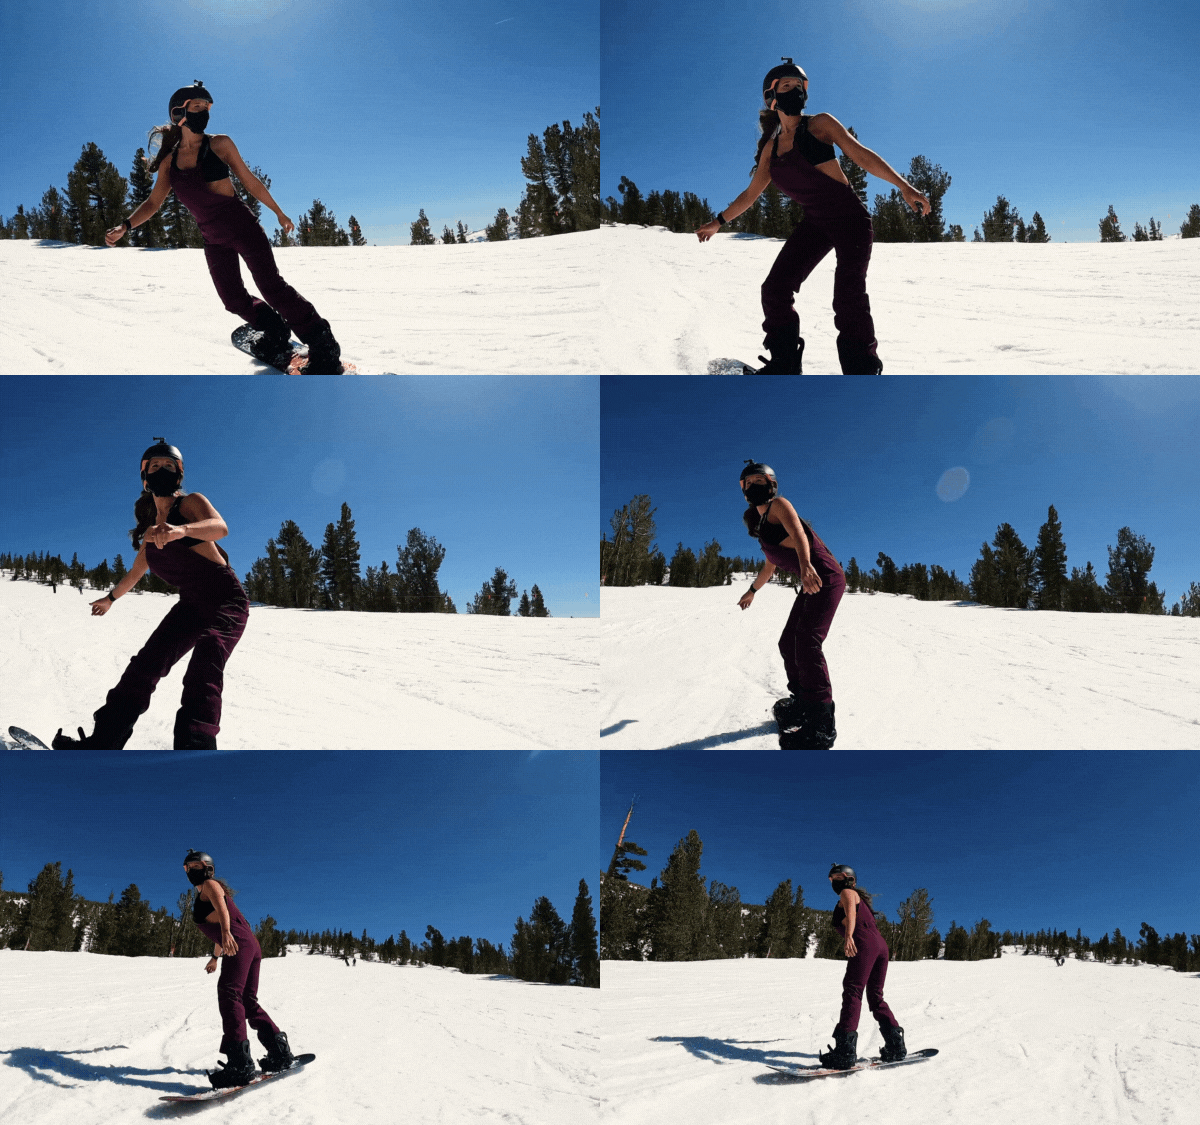
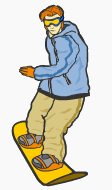
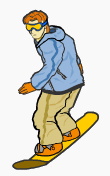
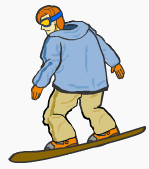
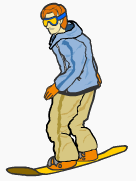
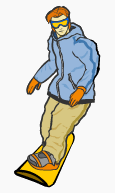
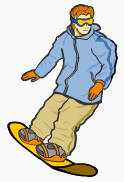
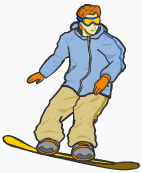
Linking Turns is a sequence of traversing, changing edge, and traversing again. Once you are able to link turns, you can consider yourself a ‘real snowboarder’ and you will look like one too!
Getting Started
Start by finding a groomed, gradual slope, preferably with as little change in contour as possible. It would be better if the area is not crowded so you will not be distracted or nervous because of people watching you. Visualize the run from the top. Make a mental note of where you might make your turns.
Heelside Turn
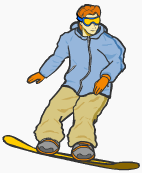

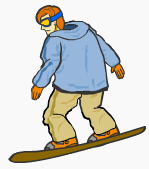
Toeside Turn
Tips
Do not be afraid in linking turns. As long as you have enough confidence in your traversing skills then making your first turns should not be that scary anymore. Practice small turns on gentle slopes first.
The crucial moment in making a turn is when you switch edge: heelside to toeside and toeside to heelside. It is that brief transition phase where your Snowboard is not gripping the snow on either edge that most people lose control and fall.
Once you are comfortable in doing the turns, try to intentionally change the rhythm of your turns by increasing or decreasing the length of each turn randomly or according to the trail. Doing this will give you greater control of your turns.
It will also allow you to be able to turn whenever you need to.
Snowboarding Tricks
Being able to perform several tricks can make your Snowboarding adventure more exciting and can give you the adrenaline rush you are looking for. Learn Aerial and Surface Tricks as well as Tricks on Rails and Halfpipe.
Learn more here: All Snowboarding Tricks
Now that you have already learned Snowboarding with the help of this online course, you may just be able to make advanced moves in your next snowboarding and ski holidays!
In the process of Learning How to Snowboard, you can always go back to our online course and get a Snowboarding Tip if you are having difficulties doing a particular maneuver.
With the help of these sections, we hope that you will be on your way to becoming a good snowboarder in no time.
FAQs
1. How to practice snowboarding at home?
One way to practice snowboarding at home is by using a simulator. A simulator allows you to ride the slopes with realistic graphics and sounds. You can also use a VR headset to experience snowboarding in a new way.
2. Can someone be too old to learn snowboarding?
No! While there may be some techniques that are more suited for younger snowboarders, there is no age limit to learning and enjoying snowboarding. In fact, many people learn snowboarding at a much older age than they would expect.
3. Can you learn snowboarding in one day?
Snowboarding is not a skill that can be learned in one day. It takes some practice and effort to learn how to snowboard well. However, with our tutorials and videos, you will be able to learn how to snowboard efficiently in three days.
4. Can you snowboard with no experience?
Snowboarding definitely requires some level of experience, but it’s not impossible to start without any. Our guide will walk you through the basics and help you find the right snowboarding gear for your needs.
5. Can snowboarding be dangerous for beginners?
Yes, snowboarding can be dangerous for beginners if they don’t have the right equipment. Make sure you have the right shoes, bindings, and a helmet to protect your head. If you are a beginner and still have doubts, consult an experienced snowboarder.
Final Words
Snowboarding is a great way to spend a winter day. With the right tips and lessons, you can have a blast on your snowboard and have fun with your friends.
It’s important to remember that snowboarding is supposed to be fun! Don’t take things too seriously and let loose while enjoying the scenery around you.

